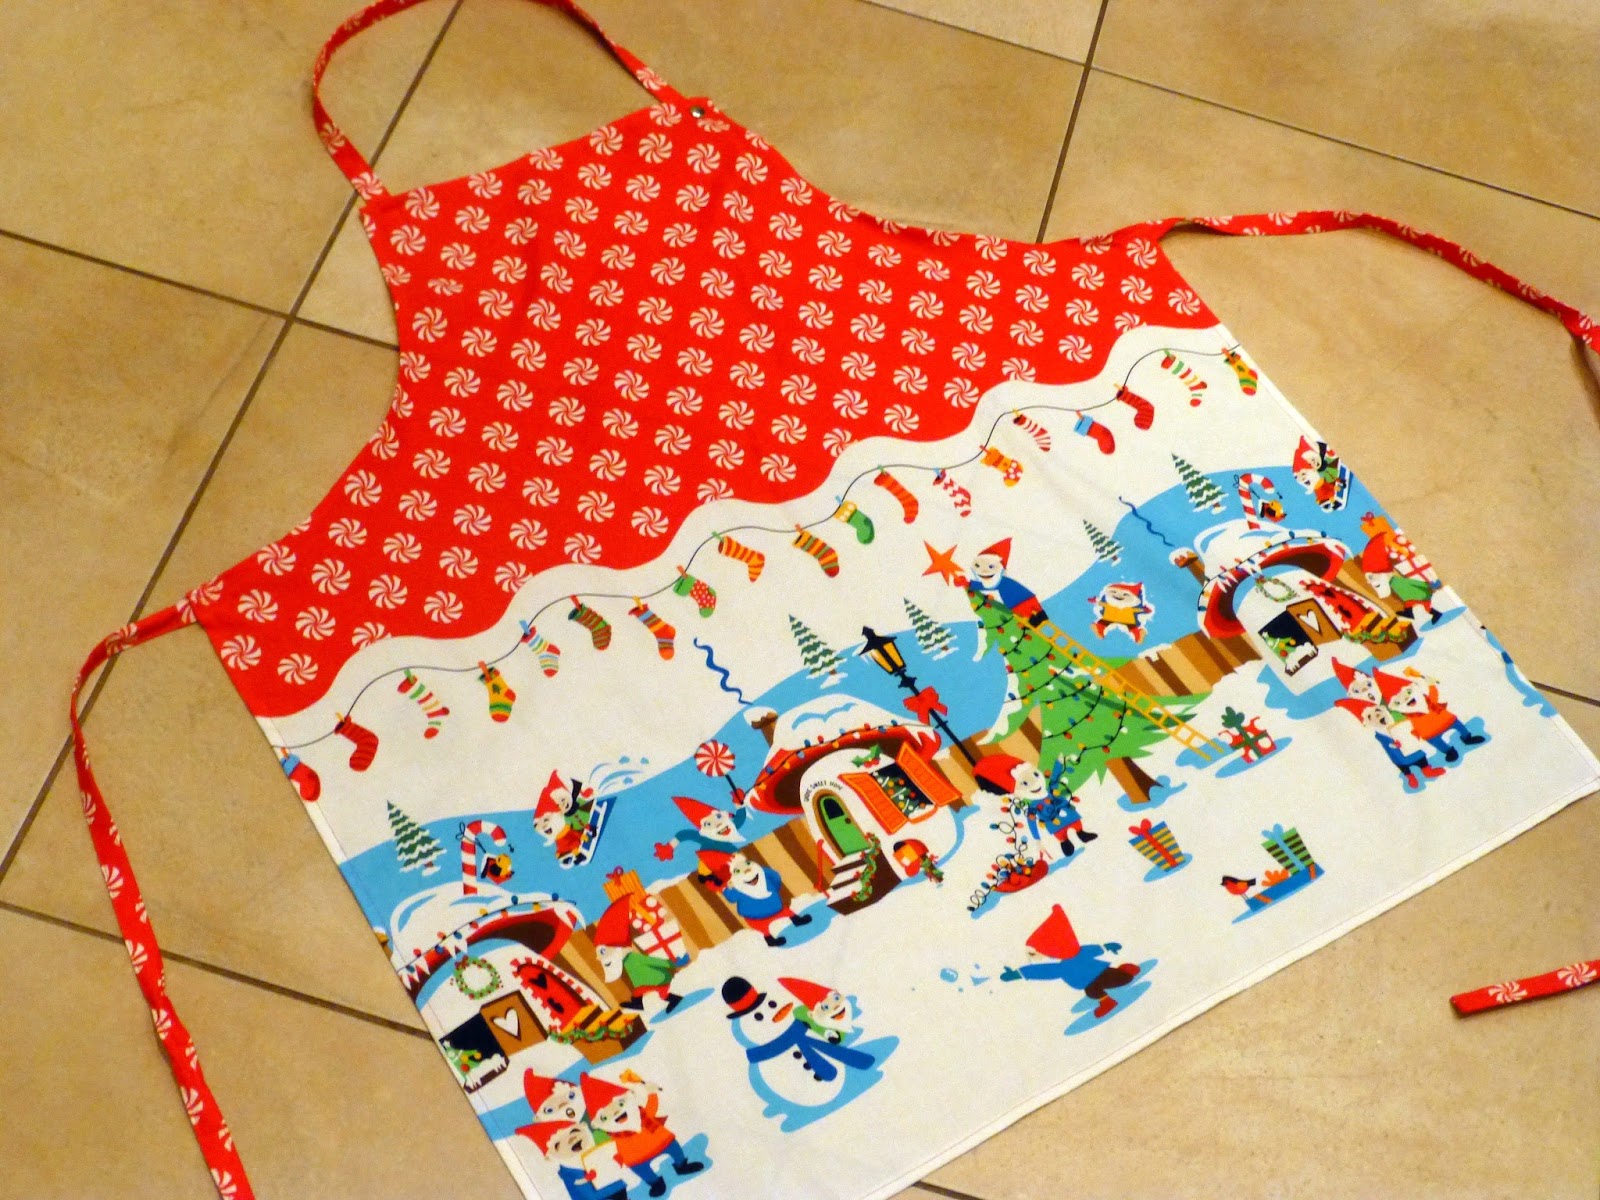
For the organised among us, Judith from 'Just Jude Designs' has drawn up this fabulous festive Christmas Apron tutorial using Michael Miller's Holly Jolly Gnomes fabric. Get that first present ticked off your list in record time by following these step-by-step instructions and you will love the finished product!
Christmas Apron
Finished Size: Approx. 30” x 31”
Materials & Requirements:
- 1m of Christmas Fabric
- 1x medium size button or small piece of Velcro or snap fastener (for adjustable neck strap)
- Buttonhole foot for your machine (if making buttonholes on neck strap)
- Paper, pencil and ruler
Method: Assume ¼” seams unless advised otherwise.
-
Create your template from the diagram below:

- Fold the fabric (wrong sides together) widthways & pin the template onto the fabric, placing the edge of the template marked ‘fold’ along the folded edge of the fabric.

3. Cut out, right up to the edge of the template. (The template includes seam allowances.)
4. Carefully make ¼” deep cuts along the curved arm holes, approx. 1” apart.

5. Iron this curved edge over ¼” towards the wrong side, and over again, another ¼”. Pin in place. Repeat for the other side.

6. Sew these seams in place. Take care not to overstretch the bias edge on the curve when sewing & give consideration to the colour of your bobbin thread as it will be seen from the front.

7. Iron the top edge of the apron down ¼”, again towards the wrong side, and over another ¼”. Pin and sew.
8. Repeat step 7 for the sides of the apron, and finally the bottom edge. All the raw edges of your apron should now be sewn under.

9. Make the adjustable neck strap: Cut out a strip of fabric that is 2.5” x 28”. Iron over the short ends ¼” first, and then iron the strip in half lengthways, wrong sides together. Open out and press long edges up to centre crease. Finally fold the strap in half again and press.
10. Pin and sew an edging seam (less than ¼”) around all 4 sides of the strap, starting and finishing with a reverse stitch.

11. Pin one end of the strap onto the wrong side of the top of the apron, and sew it in place in the shape of a box.

13. Attach a button/popper/velcro onto the opposite wrong side from where the strap is fixed.

14. Make the ties: Cut 2 strips (2.5” x 44”) and press and sew as for the neck strap. Sew a strip onto each side, just at the corner. Attach to the wrong side and sew a box from the front, as for the neck strap.

And you're done! Time to get baking!!

Happy Sewing!
Jude xo