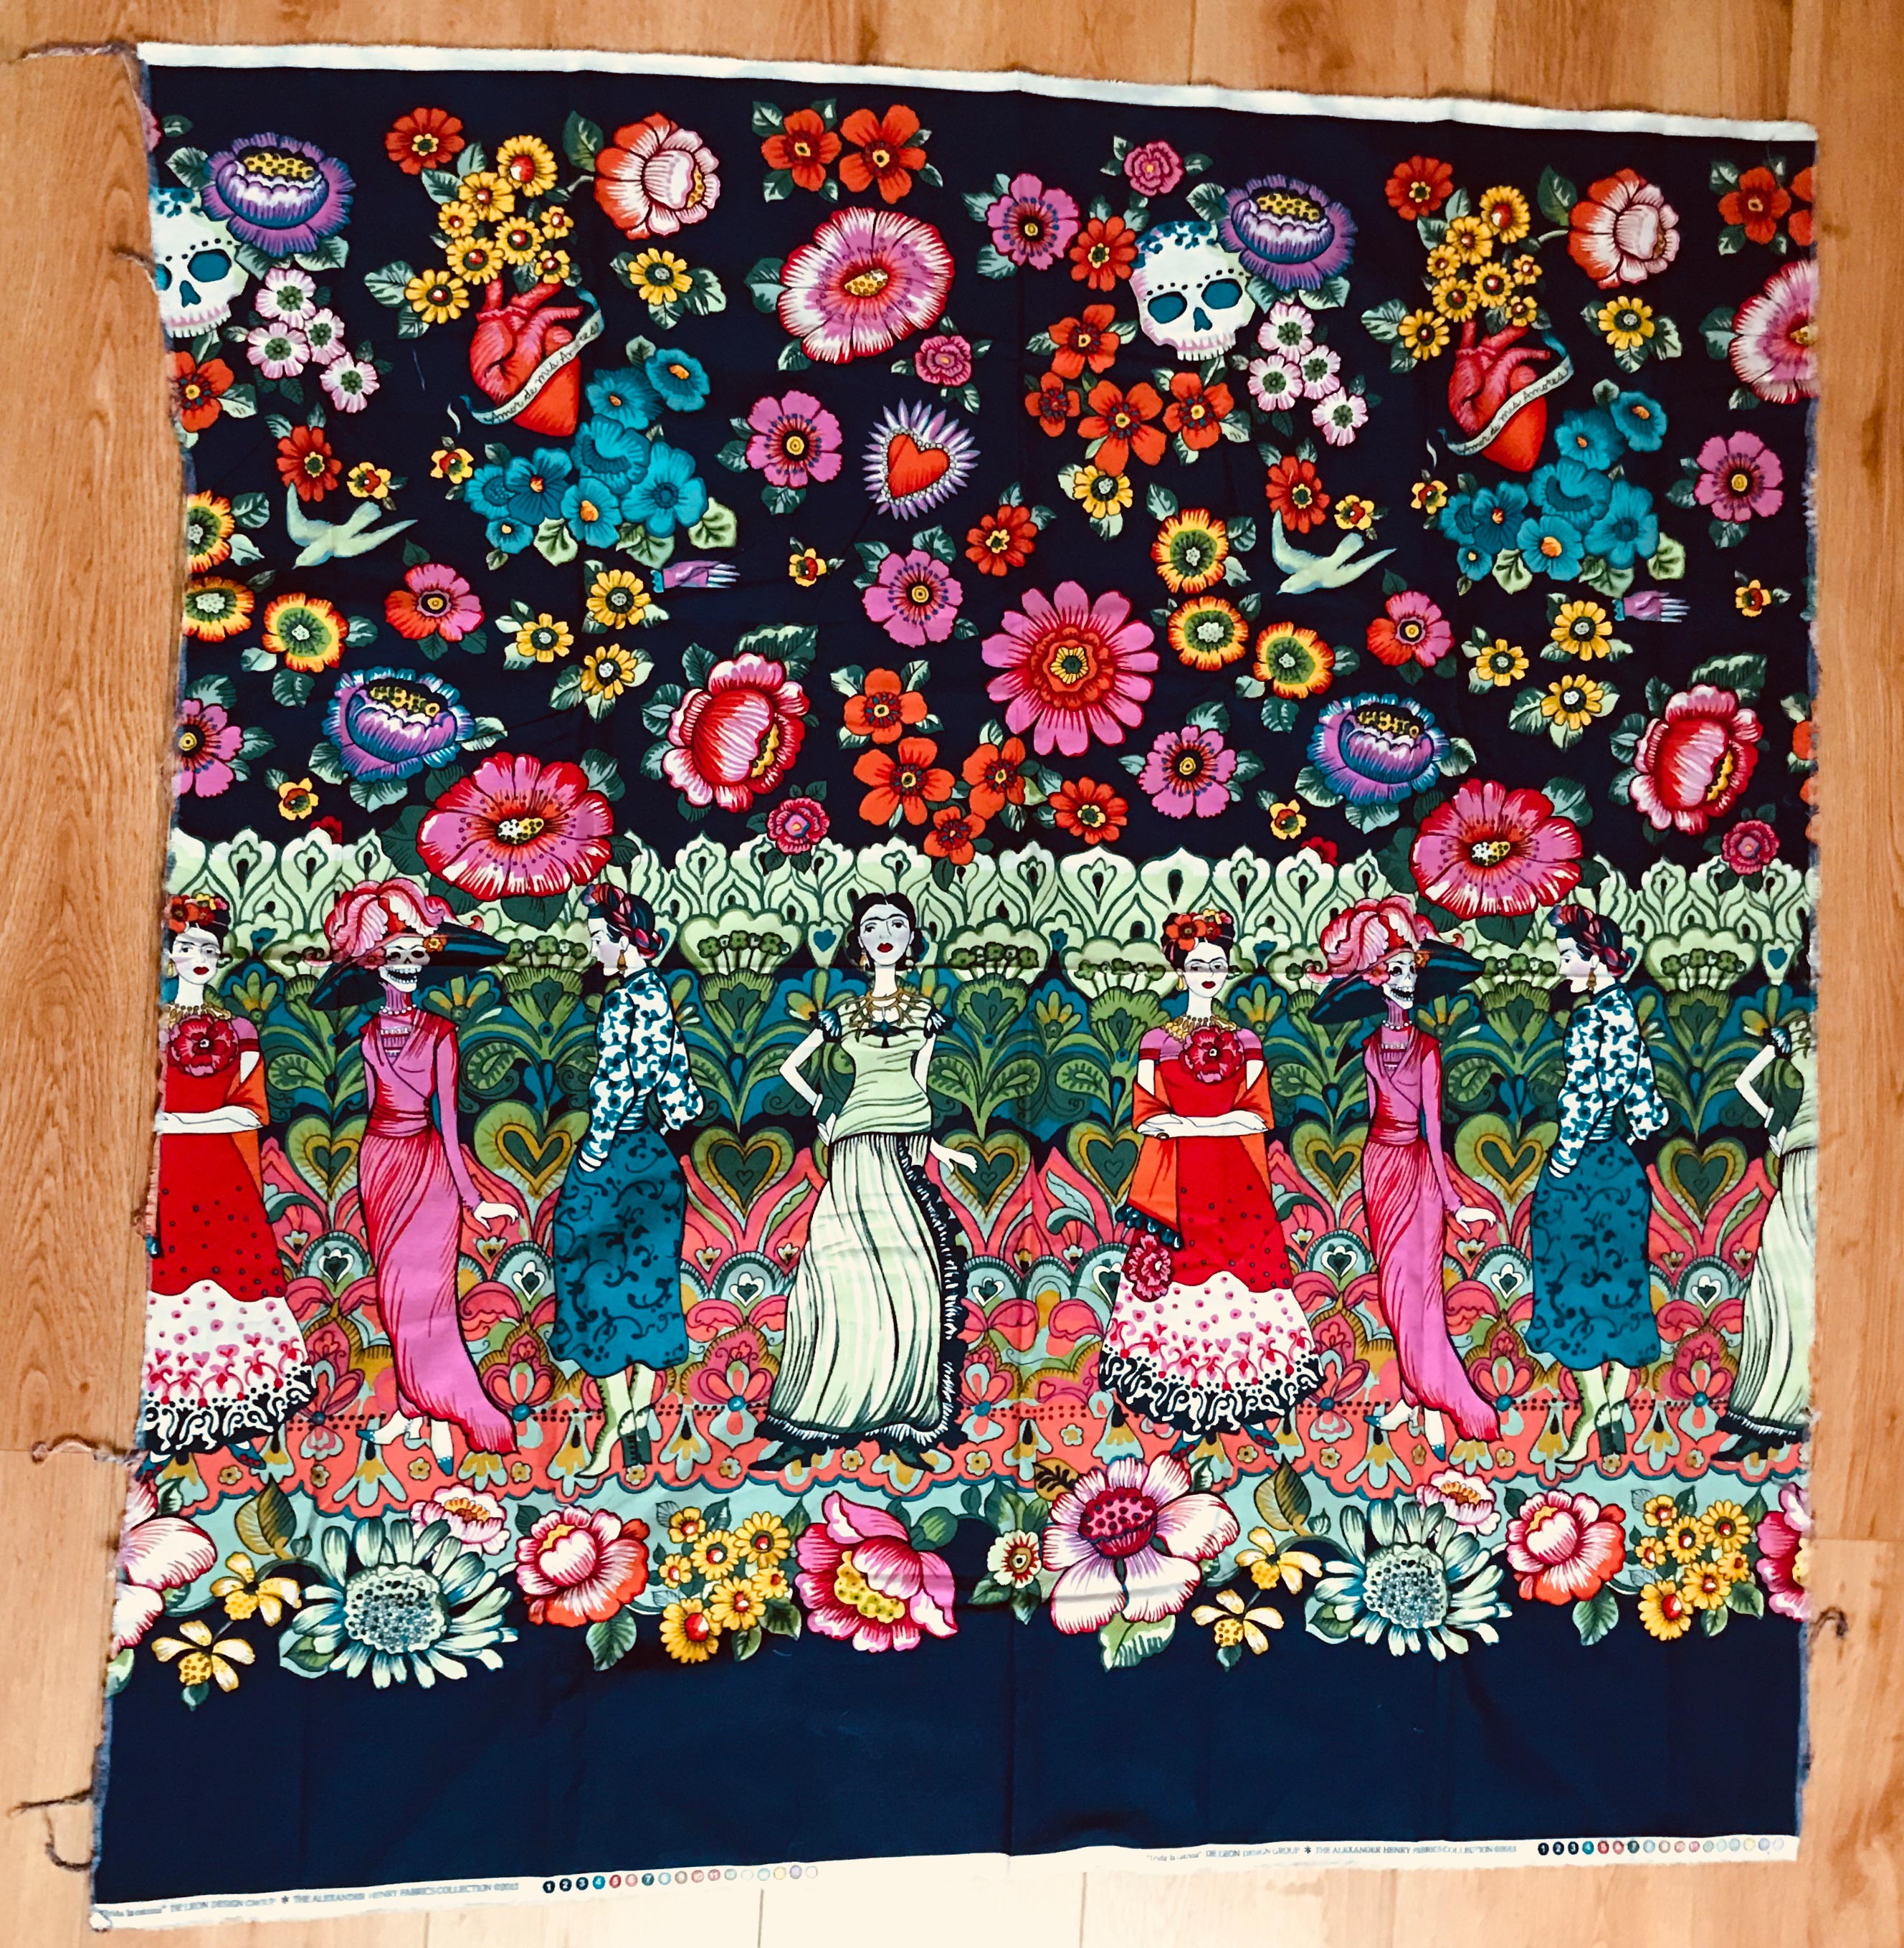
Although spring seems like a distant dream right now, there’s nothing putting on rose tinted glasses and the right Frida fabric won’t fix.
Here’s a quick walk through of how we made this pleated Frida skirt.
**this is not for the faint-hearted!
Step 1: Lay out the fabric and admire the handiwork. You will need the circumference of your waist, and 1cm seam allowance each side of every panel. Make sure you spare some fabric for the belt. For the tulle, every panel will have to be twice the size so you can fold it into pleats.

Step 2: If you’ve got potatoes in the oven, an unwalked dog and a sewing project in the middle like us, you probably don’t have the time to draw out 10 perfect parallel lines. To avoid this, we ironed the fabric into a fan and cut along the creases. To avoid ironing the tulle, we simply folded and cut with our fingers crossed.

Step 3: Sew fabric to tulle to fabric to tulle to fabric to tulle to fabric to tulle and oh my days will this tedious project ever end! If that’s not boring enough, we highly recommend overlocking all the seams...sorry! ;)

Step 4: Disclaimer, a lot of patience required. Start with fabric-tulle-fabric. Pull left fabric panel halfway across the tulle, then pull right fabric panel to meet and overlap the left by 1cm. Now press down so the tulle forms a pleat. Repeat roughly...100 times until all your pleats are finished. Take regular breaks to de-stress!
Step 5: Make a belt by folding over a wide piece of fabric in two. Add in the top of your skirt between 2 sides of the belt, and sew the belt down. Rather than putting in a zip, we took the easy way out. Tulle doesn’t fray, so we simply spliced one of the panels in half, and made an overlapping belt which closes with a button. Phew!

And that’s it! This project will definitely get you thinking, and it’s something completely different.
Why not get your sewing kit out and freshen up that winter wardrobe?

